This is the second tutorial about Jenkins Job Builder. In the first one (Jenkins Job Builder quickstart) we have learned how to define a simple job using YAML syntax and upload it as a job on jenkins. In this tutorial we will learn how to use Tempates to allow us to reuse parts of our configuration.
Jenkins Job Templates
If you need multiple jobs that are almost identical, except perhaps in their variables, functions, etc., then you can use a Job Template to define the generic elements of your jobs and then use a Project to specify or override the appropriate variable substitution. Any variables which is not specified at the project level will be inherited from the Template.
A Job Template has basically the same syntax as a Job, but you can include variables anywhere in the definition. Variables are indicated by enclosing them in braces, e.g., {var1} will substitute the variable name.
When using a variable in a string field, it is recommended to wrap the entire string in quotes, although the rules of YAML syntax don’t require it since the value of the variable may require quotes after substitution. In some cases, you must encode braces within literals inside a template (for example a shell function definition in a builder), doubling the braces will prevent them from being interpreted as a template variable.
You must include a variable in the name field of a Job Template (otherwise, every instance would have the same name). For example:
- job-template:
    name: 'myjob-{job_name}'
The above minimal template, will not cause any job to be created in Jenkins, however, it will define a template that you can reused to define jobs with a Project definition. It’s name will depend on what is supplied to the Project.
Let’s see a minimal template definition which is used by a project:
- job-template:
    # template specific defaults
    command: 'ls -al ~'
    type: freestyle
    # template settings
    name: '{name}'
    builders:
      - shell: '{command}'
- project:
    name: basic job
    command: 'ls -al /proc'
    jobs:
        - '{name}'
In this example, we have defined a template which will be a template for a generic freestyle Jenkins Job. Within it, it defines a shell command to be executed. The shell command is wrapped by the “command” variable and a default value of it is provided in the template.
We are implementing the template in the “basic job” project which contains job that does nothing but overriding the template1’s command.
Let’s upload on jenkins the above job which will be contained in the “jobs” folder as usual.
$ jenkins-jobs --conf ./jenkins-jobs.ini update jobs
And here’s your job “basic job” uploaded on jenkins:
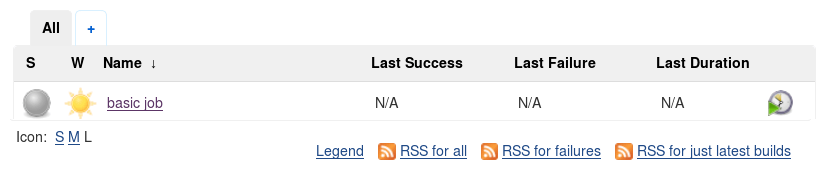
As you can guess, by running the job will cause the “/proc” directory to be printed. If you didn’t override the “command” parameter, the home folder directory would have been displayed.
Creating multiple jobs
Using templates is especially useful if you are defining multiple jobs and want to override the template defaults in each job. Take the following example:
- project:
    name: template_defaults
    jobs:
        - 'template-defaults-{num}':
            num: 1
            command: 'df -k'
        - 'template-defaults-{num}':
            command: 'df -h'
            num: 2

- job-template:
    # template specific defaults
    # Basic usage of 'df' command
    disabled_var:
    command: 'df'
    type: freestyle

    # template settings
    name: 'template-defaults-{num}-{type}'
    id: 'template-defaults-{num}'
    builders:
      - shell: '{command}'
Here we have defined a job template which executes as well a shell command. In this case, we will upload two jobs, each one with a distinct name suffix (determined by the “num” variable) and performing distinct shell commands.
Now save the file in the jobs folder and upload it:
$ jenkins-jobs --conf ./jenkins-jobs.ini update jobs
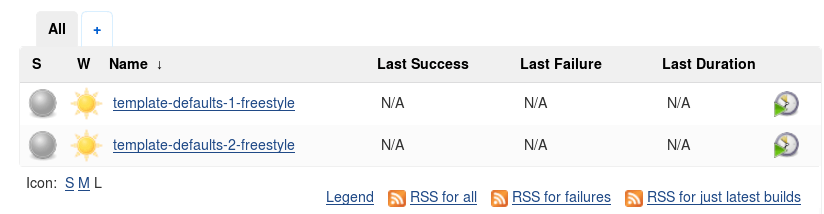
You will see that two more jobs have been added.
Try re-building each job to see the different outcome!
Found the article helpful? if so please follow us on Socials


