This quick tutorial shows how to monitor a remote WildFly application server in Standalone and Domain mode using the JConsole tool.
Connecting to a remote WildFly Server in Standalone Mode
The first thing you need to do is setting up a management user on the remote WildFly server using the add-user.sh/add-user.cmd script:
What type of user do you wish to add?
a) Management User (mgmt-users.properties)
b) Application User (application-users.properties)
(a): a
Enter the details of the new user to add.
Using realm 'ManagementRealm' as discovered from the existing property files.
Username : admin1234
Password requirements are listed below. To modify these restrictions edit the add-
user.properties configuration file.
. . . .
Password :
Re-enter Password :
Once created the user, startup the remote WildFly server, specifying a management interface IP or host binding:
standalone.bat -Djboss.bind.address.management=172.17.0.2
Now, on the local machine, locate the jconsole.sh/jconsole.bat script which is in the JBOSS_HOME/bin folder and execute it. You need to specify the http-remoting.jmx protocol, the hostname and the management port which is 9990. For example in our case you need to specify as Remote Process: service:jmx:remote+http://172.17.0.2:9990
Next enter the management Username and Password that you have created. 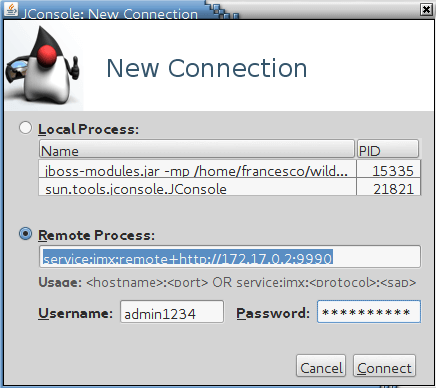
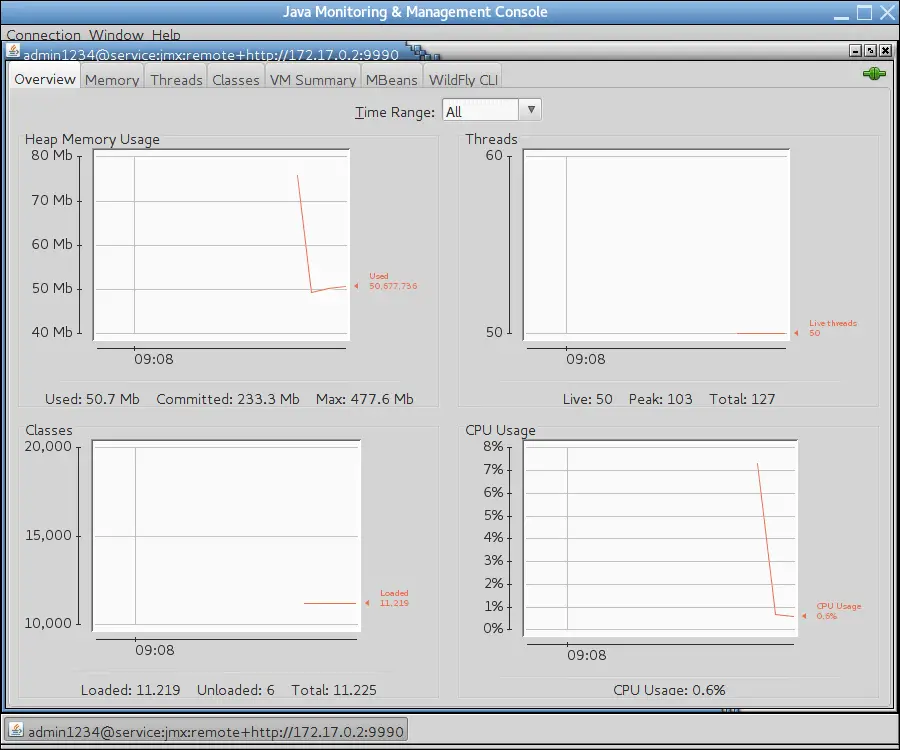
Click on Connect. Voilà! We are connected to the remote application server:
Connecting to a remote WildFly Server in Domain Mode
First of all, make sure $JAVA_HOME is set correctly.
When running in Domain mode the main difference is that individual servers do not have a management port. Only the Host Controller exposes a management port. Therefore we need to set the remoting-connector in the jmx subsystem to not use the management endpoint as follows:
/profile=full/subsystem=jmx/remoting-connector=jmx:add(use-management-endpoint=false)
Resulting in the following change in domain.xml:
<subsystem xmlns="urn:jboss:domain:jmx:1.3">
	<expose-resolved-model/>
	<expose-expression-model/>
	<remoting-connector use-management-endpoint="false"/>
</subsystem>
Next, define an ApplicationRealm user with the add-user script that you will use to connect to the WildFly servers for remote monitoring:
./add-user -a -u user1234 -p Password1!
Finally, execute the following commands to add a remoting port to the socket binding group, and add remoting to the ApplicationRealm.
/socket-binding-group=full-sockets/socket-binding=remoting:add(port=4447)
/profile=full/subsystem=remoting/connector=remoting-connector:add(socket-binding=remoting,security-realm=ApplicationRealm)
The configuration is complete. You will need to bind the Host Controller at boot to one IP Address which is reachable from your tools
$ JBOSS_HOME/bin/domain.sh -b=192.168.1.109
In order to connect to the single WildFly servers of your Domain, you will use the jmx over remoting protocol, which is exposed on port 4447, as we configured it earlier:
service:jmx:remote://192.168.1.109:4447
Found the article helpful? if so please follow us on Socials


