Creating a Datasource for WildFly 9 is a pretty simple task thanks to the templating wizard that is included on the Web console.
First of all you need to download WildFly from http://wildfly.org/downloads/
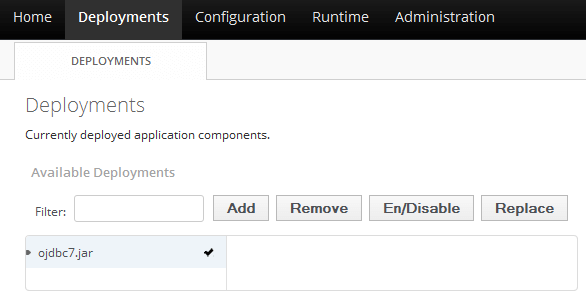
Let’s see how to configure an Oracle 12c Connection using the ojdbc7.jar Driver. There are multiple strategies for configuring a Datasource, the faster one will be deploying the JDBC Driver on WildFly so that module and JDBC driver gets installed in one shot. Open the Web Console and turn to the Deployments tab and deploy the JDBC Driver:
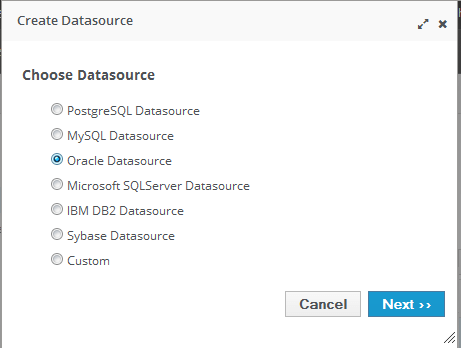
Next, from the Configuration Tab select Connector -> Datasources. Click to Add a Datasource. The template wizard will start letting you to choose from a set of templates:
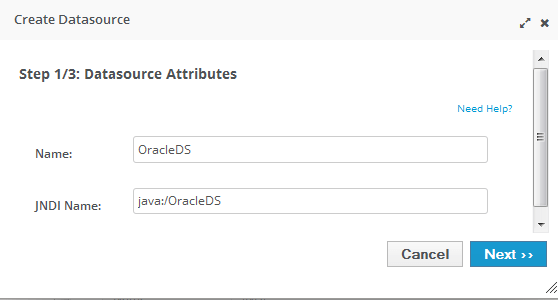
Click on Next. The wizard will choose for you a default name and a valid JNDI name for the Datasource. You can can the latter as long as it remains a valid JNDI Name (java:/ or java:jboss/):
Next, you have to bind the Datasource to a Driver. In the default settings the application server propose you the com.oracle Module name.
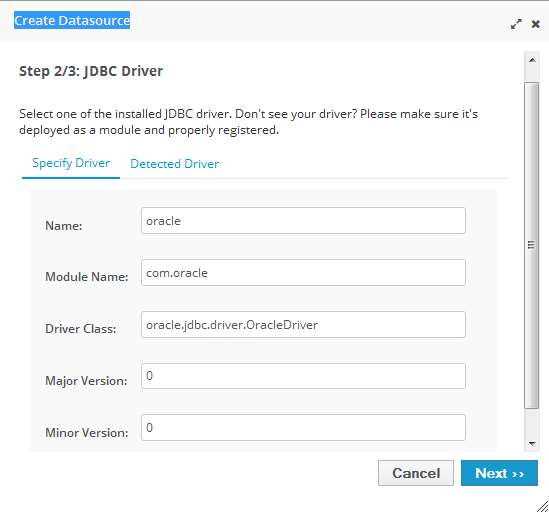
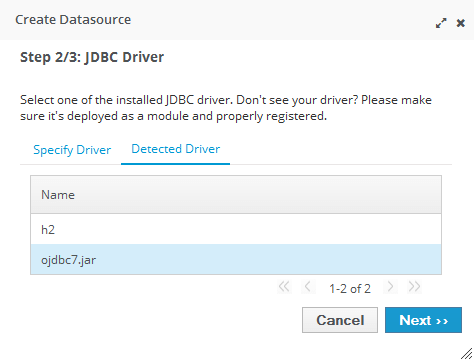
Since we haven’t installed the driver in the JBOSS_HOME/modules path we will choose the “Detected Driver” option instead. The JDBC Driver should be enlisted:
Click on next. Complete the Connection Settings by specifying the Connection URL and security settings for your Datasource:
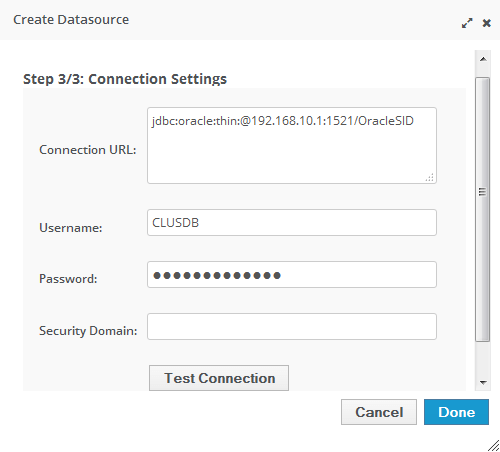
Finally, click on Test Connection to verify Connectivity and Done when completed. Et voilà! a Datasource configured in as little as a minute!
Side Notes
As of WildFly 9 some configuration options have been deprecated:
1) Deployable Datasources have been deprecated, so it is not guaranteed that they will be compatible with future versions of the application server
2) The attribute “enabled” attribute has been deprecated too, as you can see from this message on the server logs
WFLYCTL0028: Attribute enabled is deprecated, and it might be removed in future version!
Found the article helpful? if so please follow us on Socials


