In this tutorial we will learn how to deploy applications to remote WildFly application servers using Eclipse and the JBoss tools plugin.
The prerequisite to this tutorial is that you have installed JBoss Tools on eclipse. Check out this tutorial for learning how to do it.
There are several strategies for deploying your applications on a remote server, all of them include a deamon that is running on the remote server and a means to authenticate with the server. Although the FTP connection might be the simplest strategy, not all remote servers are running an FTP service. Here we will learn how to use the DStore Connector Service for deploying applications to a remote WildFly server running on a Linux Machine. The DStore Connector Service uses RSE’s DataStore protocol to connect to the host.
Important note! In order to run the DStore Server on your machine you need to have installed Perl and a Java Runtime Environment (JRE) is installed on your machine.
Configuring the Daemon remote service
You can download the latest Server Runtimes from http://download.eclipse.org/tm/downloads/ (Select at first the latest stable build and from the next page pickup the Server Runtime Build).
Unzip the Server with:
unzip rseserver-linux-3.5-GA.tar
Now, as root start the daemon.pl script:
perl ./daemon.pl
Note that the server daemon runs on port 4075 by default. You can pass the optional daemonPort argument to force a different port if you want. If your daemon runs behind a firewall, you may want to specify the optional serverPortRange argument to restrict selected server ports to the range given:
perl ./daemon.pl 4075 10000-10010
Once started you should see the following output on your console:
“Daemon running on: localhost.localdomain, port: 4075”
Configuring Eclipse to connect to the remote WildFly Server
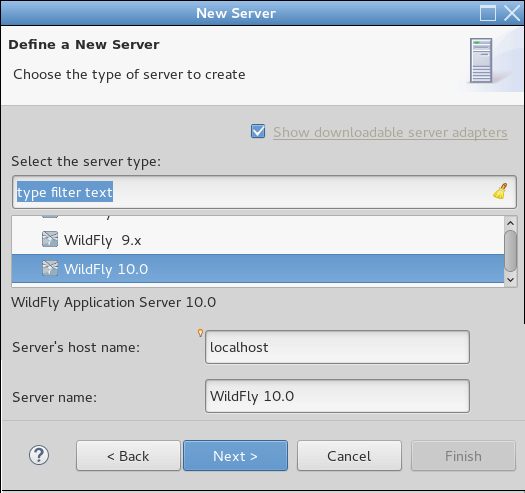
Now that you have got the remote Daemon running, it’s time to connect to it from Eclipse. From the Server tab right click and choose New | Server and choose WildFly server:
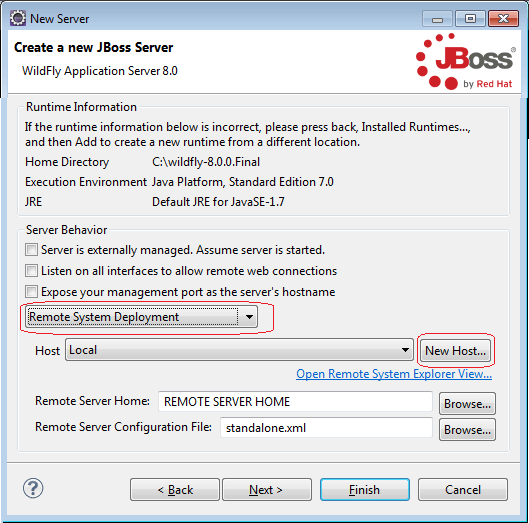
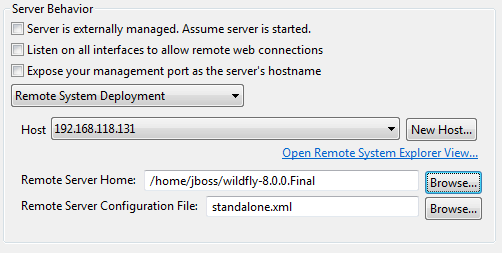
Click on Next. In the following dialog, select from the first ComboBox “Remote System Deployment” and click on the “New Host” button:
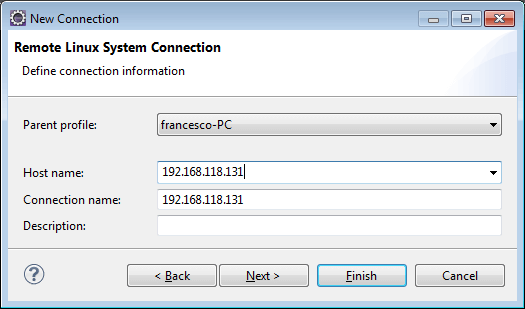
In the following step choose the remote System type to be Linux in our case:

In the next step enter the IP address or Host name of the remote server as shown:
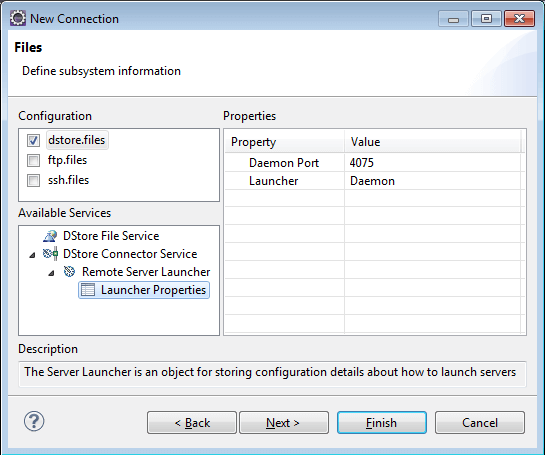
The following step will let you choose the communication type used with the remote server: you can choose among DataStore, ftp or ssh. As we have DStore Server running, select it from the chechbox list and verify in the Launcher properties that the Daemon Port matches with the one that is running (4075) and that Launcher is set to Daemon.
Click on Finish. Now you will return to your “Create New Server” UI where you will pickup the WildFly home by clicking on Browse in the Remote Server Home field. A popup window will now request the remote operating system login/password to connect:
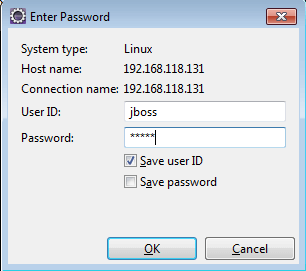
You will get a warning that the Connection is not secured with SSL. Accept to Proceed Anyway. Now expand your remote file system to select the WildFly home directory:

Click on Ok. Check that the Remote Server Home directory matches to the actual remote WildFly home directory:
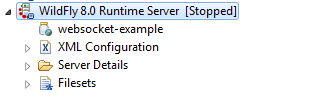
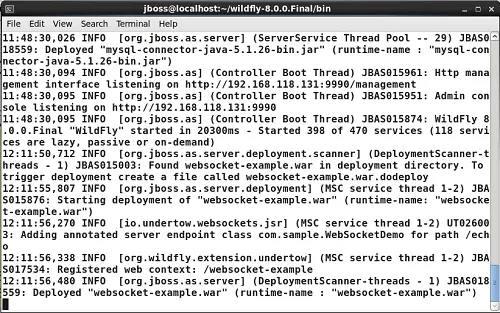
Great! now you can start deploying applications like you would do on a Local WildFly instance: that is right click on the Server and choose “Add or Remove” for first time deploy or removal, or Full Publish for next deployments. As a test, I’m going to deploy an application named “websocket-example.war”.
Once published check on the remote server for successful deployment:
Found the article helpful? if so please follow us on Socials


