This tutorial will teach you how you can build and deploy a custom Docker images available on Dockerhub into Openshift Origin Paas.
Before reading this tutorial you are suggested to learn how to set up quickly Openshift origin on your machine using “oc cluster up”: Openshift installation quick tutorial
So out of the box, Openshift origin features some templates which contain the images needed to run your applications:
oc get templates -n openshift
NAME                                     DESCRIPTION                                                PARAMETERS     OBJECTS
cakephp-mysql-example                    An example CakePHP application with a MySQL database       19 (4 blank)   7
dancer-mysql-example                     An example Dancer application with a MySQL database        18 (5 blank)   7
django-psql-example                      An example Django application with a PostgreSQL database   17 (5 blank)   7
jenkins-ephemeral                        Jenkins service, without persistent storage.
jenkins-persistent                       Jenkins service, with persistent storage.
jenkins-pipeline-example                 This example showcases the new Jenkins Pipeline integration in OpenShift, whi...   5 (4 generated)   8
mariadb-ephemeral                        MariaDB database service, without persistent storage. WARNING: Any data store...   6 (2 generated)   2
mongodb-ephemeral                        MongoDB database service, without persistent storage. WARNING: Any data store...   7 (3 generated)   2
mysql-ephemeral                          MySQL database service, without persistent storage. WARNING: Any data stored...    6 (2 generated)   2
nodejs-mongodb-example                   An example Node.js application with a MongoDB database                             16 (4 blank)      7
postgresql-ephemeral                     PostgreSQL database service, without persistent storage. WARNING: Any data st...   6 (2 generated)   2
rails-postgresql-example                 An example Rails application with a PostgreSQL database                            20 (4 blank)      7
We will learn now how to load in a Pod a Docker image available from Docker Hub. Let’s say you want the custom image “wildfly-100-centos7“:
$ docker search wildfly-100-centos7
INDEX       NAME                                             DESCRIPTION                                     STARS     OFFICIAL   AUTOMATED
docker.io   docker.io/openshift/wildfly-100-centos7          A Centos7 based WildFly v10.0 image for us...   1
This is a WildFly v10.0 image intended for use with OpenShift v3 which is enabled for Source-To-Image
Source-to-Image (S2I) is a mechanism for building custom Docker images. It produces ready-to-run images by injecting application source into a Docker image and assembling a new Docker image. The new image incorporates the base image and built source
The great thing is that you can do all this with a single command. So let’s say you want to load the image “openshift/wildfly-100-centos7” and produce a new image using the source code available on https://github.com/fmarchioni/mastertheboss in the folder “openshift-demo”
(Have a look at the application here: https://github.com/fmarchioni/mastertheboss/tree/master/openshift-demo)
Here’s the command which does the magic:
oc new-app openshift/wildfly-100-centos7~https://github.com/fmarchioni/mastertheboss --context-dir=openshift-demo --name=demo-wildfly
As you can see from the output several things happen:
- The image is searched in DockerHub. It’s found and then loaded
- An image stream will be created for it that will track the source image
- A source build using source code from https://github.com/fmarchioni/mastertheboss will be created
- This image will be deployed in deployment config “demo-wildfly”
--> Found Docker image 34c3fbc (3 hours old) from Docker Hub for "openshift/wildfly-100-centos7"

    WildFly 10.0.0.Final
    --------------------
    Platform for building and running JEE applications on WildFly 10.0.0.Final

    Tags: builder, wildfly, wildfly10

    * An image stream will be created as "wildfly-100-centos7:latest" that will track the source image
    * A source build using source code from https://github.com/fmarchioni/mastertheboss will be created
      * The resulting image will be pushed to image stream "demo-wildfly:latest"
      * Every time "wildfly-100-centos7:latest" changes a new build will be triggered
    * This image will be deployed in deployment config "demo-wildfly"
    * Port 8080/tcp will be load balanced by service "demo-wildfly"
      * Other containers can access this service through the hostname "demo-wildfly"

--> Creating resources with label app=demo-wildfly ...
    imagestream "wildfly-100-centos7" created
    imagestream "demo-wildfly" created
    buildconfig "demo-wildfly" created
    deploymentconfig "demo-wildfly" created
    service "demo-wildfly" created
--> Success
    Build scheduled, use 'oc logs -f bc/demo-wildfly' to track its progress.
    Run 'oc status' to view your app.
You can check that the Image streams have been created with the following command:
oc get is
NAME                  DOCKER REPO                                         TAGS      UPDATED
demo-wildfly          172.30.214.204:5000/myproject/demo-wildfly
wildfly-100-centos7   172.30.214.204:5000/myproject/wildfly-100-centos7
And here is the service which is now available:
$ oc get svc
NAME           CLUSTER-IP       EXTERNAL-IP   PORT(S)    AGE
demo-wildfly   172.30.182.135   <none>        8080/TCP   34s
In order to enable using the service to external clients, we will create a route which will expose the http port 8080 of the service:
$ oc expose svc demo-wildfly
route "demo-wildfly" exposed
As you can see, now the demo application is exposed through a router:
$ oc get routes
NAME           HOST/PORT                                    PATH      SERVICES       PORT       TERMINATION
demo-wildfly   demo-wildfly-myproject.192.168.1.66.xip.io             demo-wildfly   8080-tcp
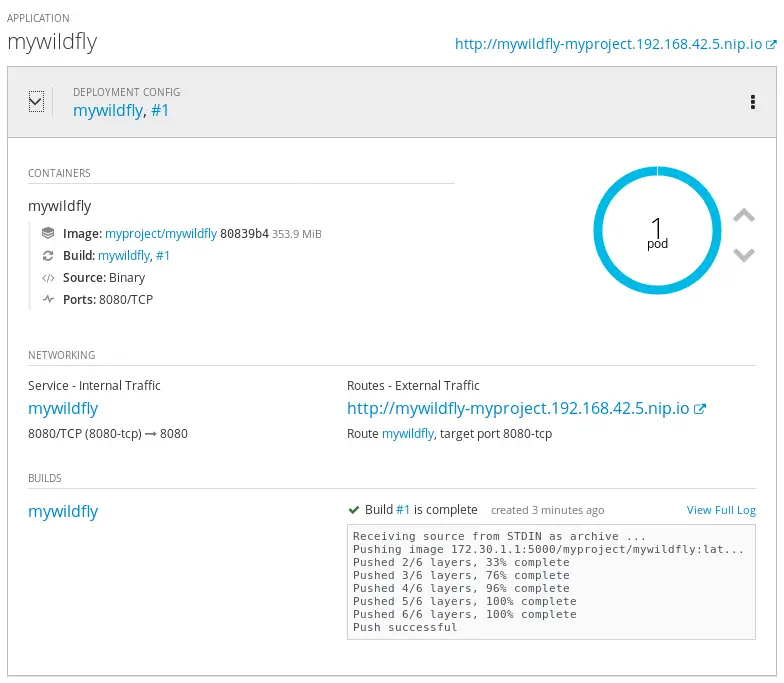
If you prefer you can browse through the console and click on the router to test the application!
Enjoy using Openshift Platform !
Found the article helpful? if so please follow us on Socials


