Git is a fundamental tool for version control, and Jenkins pipelines integrate seamlessly with it to automate your CI/CD workflows. This tutorial will guide you through the process of using Git with Jenkins pipelines, covering setup, configuration, and usage.
Prerequisites
- Jenkins Installed: Make sure you have Jenkins up and running. This can be a local instance, a container, or hosted on a server.
- Git Installed: Jenkins should have access to Git on the machine or node it’s running on.
- A Git Repository: You’ll need a repository containing the source code to build. You can use GitHub, GitLab, or any other Git hosting service.
Step 1: Install the Git Plugin in Jenkins
- Go to Jenkins Dashboard > Manage Jenkins > Manage Plugins.
- Under the Available tab, search for the Git Plugin.
- Select and install it, then restart Jenkins if prompted.
Besides, make sure the Pipeline plugin is also available in your installation:
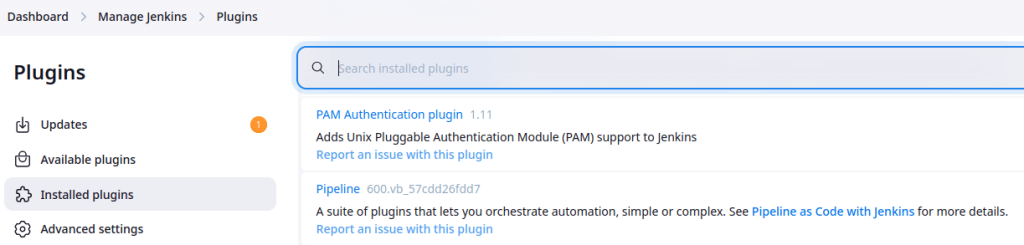
Additionally, you should have also the git plugin, in order to simplify the creation of Jenkins pipelines using Git as Version Control.
Step 2: Create a New Pipeline Job
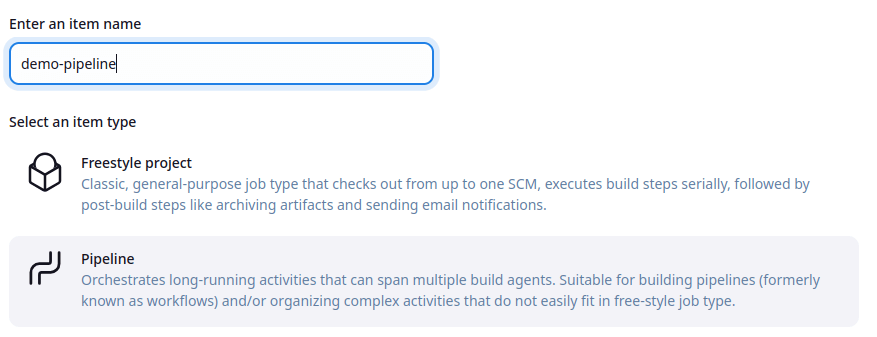
- From the Jenkins dashboard, click New Item.
- Enter a name for the pipeline, select Pipeline, and click OK.
In the pipeline configuration page, go to the Pipeline section, and choose Pipeline script.
Enter the following example Pipeline script:
pipeline {
    agent any
    stages {
        stage('Checkout') {
            steps {
                git url: 'https://github.com/fmarchioni/jenkinsdemo', branch: 'main'

            }
        }
        stage('Test') {
            steps {
                sh 'mvn clean test'
            }
        }
        stage('Package') {
            steps {
                sh '''
                mvn package
                '''
                archiveArtifacts artifacts: 'target/*.war', fingerprint: true
            }
        }
    }
}
The pipeline consists of three main stages: Checkout, Test, and Package. These are the steps that Jenkins will execute sequentially during the pipeline run.
stage('Checkout'): This is the first stage, which is responsible for pulling the project code from a Git repository.git url: 'https://github.com/fmarchioni/jenkinsdemo', branch: 'main': This step clones the Git repository located at the specified URL (https://github.com/fmarchioni/jenkinsdemo) and checks out themainbranch.stage('Test'): This is the second stage where the code will be tested.sh 'mvn clean test': This step runs Maven commands to clean any previously compiled files and execute unit tests defined in the project.mvn clean testwill remove old build files and run tests defined in the project’ssrc/testdirectory.stage('Package'): The third stage is responsible for packaging the application into a distributable format (in this case, a.warfile).sh ''' mvn package ''': This step runsmvn package, which compiles the application and packages it (e.g., as a WAR file in thetarget/directory).archiveArtifacts artifacts: 'target/*.war', fingerprint: true: This step archives the.warfile(s) created by themvn packagecommand. Thefingerprint: trueoption ensures that Jenkins can track the file’s fingerprint for later use (e.g., for tracing which build created it).
Step 3: Run the Pipeline
- Save the pipeline configuration.
- Click Build Now to trigger the pipeline.
- Monitor the build progress by clicking on the build number under the Build History section.
Here is the outcome of the Pipeline steps:
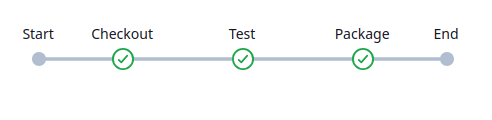
As you can see, the pipeline completed successfully, and the artifact is available in the Build section:

- The Preparation stage where a Maven project is created from the maven-archetype-quickstart
- The Build stage where the project is compiled, packaged and tested
- The Archive stage where the output package is archived
Pipeline script from a Version Control System
In the first example, we have configured the Git checkout stage manually using the git command. We can also configure the git connectivity declaratively. Choose “Pipeline script from SCM” and select “Git” as SCM:

You can optionally configure the branch and the location of the Jenkinsfile. The Jenkinsfile allows you to define the pipeline as code. Jenkinsfiles are typically stored in the version control system alongside the project’s source code, enabling easy tracking of pipeline changes.
Therefore, within the root of the jenkinsdemo project, we will add the following Jenkinsfile:
pipeline {
    agent any

    stages {
        stage('Checkout') {
            steps {
                 sh 'ls -al'
            }
        }
        stage('Test') {
            steps {
                sh 'mvn clean test'
            }
        }
        stage('Package') {
            steps {
                sh '''
                mvn package
                '''
                archiveArtifacts artifacts: 'target/*.war', fingerprint: true
            }
        }
    }
}
As you can see, we don’t need to checkout any more the project from the script. The Checkout stage merely prints the workspace directory to assert that the source code is there. The rest of the Jenkins Pipeline is the same.
Conclusion
Integrating Git with Jenkins pipelines is straightforward and highly customizable. By leveraging Git’s powerful version control capabilities, you can automate code integration, testing, and deployment efficiently. Follow this guide to set up your own Jenkins-Git workflows, and extend them based on your project’s needs!