In this article we will learn how to provision a WildFly Server using the JBang scripting tool. Starting from a basic example using a REST endpoint, we will show how to enable additional features on the application server with the WildFly Glow tooling.
Why Run WildFly in your Java scripts?
WildFly is an application server that provides a set of standard APIs for your applications. At first glance, it might seem counter-intuitive to use an application server within a script. However, the purpose of integrating WildFly with JBang is not to add extra complexity to your scripts but to prototype simple applications quickly. For example, you might set up Microservices with Enterprise features, test them, and if needed, later move them into a more complex context.
The main advantage is that you do not need to set up a project or manage application server configurations — everything can be achieved using JBang annotations!
Pre-requisites
- Install the JBang tool: JBang: Create Java scripts like a pro
- Optionally, install WildFly Glow to have more control over your scripts: WildFly Glow: Next-Gen Evolution in Provisioning
A Basic Example
The most basic example, available in the WildFly Glow documentation, demonstrates how to quickly set up a Jakarta REST Service using JBang annotations:
///usr/bin/env jbang "$0" "$@" ; exit $?
//JAVA 17+
//DEPS org.wildfly.bom:wildfly-expansion:${wildfly.version:35.0.1.Final}@pom
//DEPS org.wildfly.glow:wildfly-glow:1.4.1.Final
//DEPS jakarta.ws.rs:jakarta.ws.rs-api
//DEPS jakarta.enterprise:jakarta.enterprise.cdi-api

import jakarta.enterprise.context.ApplicationScoped;
import jakarta.ws.rs.GET;
import jakarta.ws.rs.Path;
import jakarta.ws.rs.ApplicationPath;
import jakarta.ws.rs.core.Application;

@ApplicationPath("/")
public class myapp extends Application {

    @Path("/hello")
    @ApplicationScoped
    public static class Hello {

        @GET
        public String sayHello() {
            return "Hello, WildFly!";
        }

    }
}
As you know, the //DEPS annotations link your Java code with the necessary dependencies in a Gradle-like format. Notice also that the same annotation is used to include WildFly Glow, which allows you to trim the WildFly server to fit the application requirements.
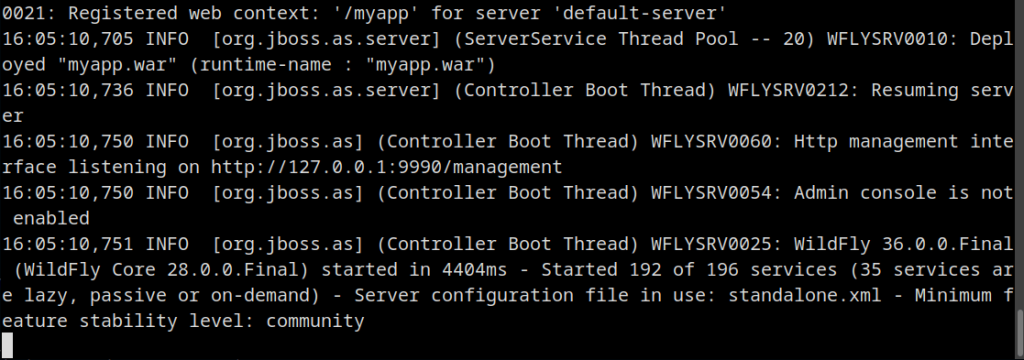
Once you have met the requirements, you can simply start your REST endpoint with:
jbang myapp.java
Wait for the dependencies resolution:
[jbang] Resolving dependencies...
[jbang]    org.wildfly.glow:wildfly-glow:1.4.1.Final
[jbang]    jakarta.ws.rs:jakarta.ws.rs-api
[jbang]    jakarta.enterprise:jakarta.enterprise.cdi-api
[jbang]    org.wildfly.bom:wildfly-expansion:35.0.1.Final@pom
[jbang] Dependencies resolved
Then, verify that WildFly is up and running and test it:
curl http://localhost:8080/myapp/hello
You should see:
Hello, WildFly!
Extending the Default WildFly Installation
Next, we will use a feature discussed in the WildFly Glow documentation that allows you to extend your WildFly installation using add-on features. You can list the available add-ons using the WildFly Glow tool:
./wildfly-glow show-add-ons
The output will display several add-ons for clustering, database, EJB, JAX-RS, JSF, LRA, management, messaging, observability, reactive messaging, RPC, security, and web. For example, you can bundle Kafka dependencies in WildFly with the following annotation:
//GLOW --add-ons=kafka
Revisiting Our Basic Example
Let’s revisit our application by including some extra features, such as sending a message to a Kafka server.
///usr/bin/env jbang "$0" "$@" ; exit $?
//JAVA 17+
//DEPS org.wildfly.bom:wildfly-expansion:${wildfly.version:35.0.1.Final}@pom
//DEPS org.wildfly.glow:wildfly-glow:1.4.1.Final
//DEPS jakarta.ws.rs:jakarta.ws.rs-api
//DEPS jakarta.enterprise:jakarta.enterprise.cdi-api
//DEPS org.eclipse.microprofile.config:microprofile-config-api
//DEPS org.apache.kafka:kafka-clients:3.6.0

//GLOW --add-ons=kafka

import jakarta.enterprise.context.ApplicationScoped;
import jakarta.inject.Inject;
import jakarta.ws.rs.*;
import jakarta.ws.rs.ApplicationPath;
import jakarta.ws.rs.core.Application;

import java.util.Properties;
import org.eclipse.microprofile.config.inject.ConfigProperty;

import org.apache.kafka.clients.producer.*;
import org.apache.kafka.common.serialization.StringSerializer;

@ApplicationPath("/")
public class myapp extends Application {

    @Path("/hello")
    @ApplicationScoped
    public static class Hello {

        @Inject
        @ConfigProperty(name = "nick.name", defaultValue = "WildFly")
        private String configName;

        @GET
        @Path("/{name}")
        public String sayHelloWithParam(@PathParam("name") String name) {
            return sendMessage(name);
        }

        @GET
        public String sayHelloDefault() {
            return sendMessage(configName);
        }

        private String sendMessage(String nameToUse) {
            String message = String.format("Hello, %s!", nameToUse);

            Properties props = new Properties();
            props.put(ProducerConfig.BOOTSTRAP_SERVERS_CONFIG, "localhost:9092");
            props.put(ProducerConfig.KEY_SERIALIZER_CLASS_CONFIG, StringSerializer.class.getName());
            props.put(ProducerConfig.VALUE_SERIALIZER_CLASS_CONFIG, StringSerializer.class.getName());

            try (KafkaProducer<String, String> producer = new KafkaProducer<>(props)) {
                producer.send(new ProducerRecord<>("greetings", "key", message));
            } catch (Exception e) {
                return "Failed to send message to Kafka: " + e.getMessage();
            }

            return message;
        }
    }
}
In our example, we now include a sendMessage method which sends a text message to a Kafka server available on localhost:9092. Moreover, we inject an attribute using the MicroProfile Config API. This allows us to source our message from multiple origins: you can either provide it as a path parameter, use an attribute from MicroProfile Config, or rely on the default value — “WildFly”.
Before running WildFly, first ensure you have a running Kafka server. The simplest option is to start Kafka with Docker:
docker run -p 9092:9092 apache/kafka:4.0.0
Then, you can run your application again:
jbang myapp.java
From another terminal, start sending messages. For example:
NICK_NAME=Bob curl http://localhost:8080/myapp/hello
And test a custom name with:
curl http://localhost:8080/myapp/hello/Frank
To inspect the incoming messages, you can either add another endpoint to browse the messages or enter the Kafka container and view the messages with:
/opt/kafka/bin/kafka-console-consumer.sh --bootstrap-server localhost:9092 --topic greetings --from-beginning
You should see an output similar to:

Conclusion
This article demonstrated how you can leverage the powerful combination of WildFly, JBang, and Glow to prototype enterprise-grade applications with minimal setup. By embedding a full application server into your script, you can develop, run, and test Jakarta EE applications — including integrations like Kafka — without the need for a dedicated project structure.
Whether you’re experimenting with microservices, showcasing demos, or building quick proof-of-concepts, this lightweight and flexible approach delivers a developer-friendly experience backed by a full Java EE stack. With just a few lines of code and annotations, you have a runnable WildFly server tailored to your needs — all from a single script!